Sewing time!!! I had lots of free time last week/weekend so I worked on my quilt and finished sewing the first step. The pieces are now laid out on my bedroom floor and kind of in the way, but I'm really excited!
Also, last week was the last week of the semester and I scouted Craigslist. A friend went with me and we picked up a chair. The chair needed some thing extra so I went to the local Goodwill and picked up some pillows. (It was 50% off Storewide...Yeah...I went in for pillows - $3.00...ended up with a couple shirts, a purse, and a pair of shoes. It was a good deal.)

The pillows looked like this...they needed a change.

First thing...the ruffle needed to go.
I found a great tutorial for a pillow cover without a zipper. If you want to take a look its here.
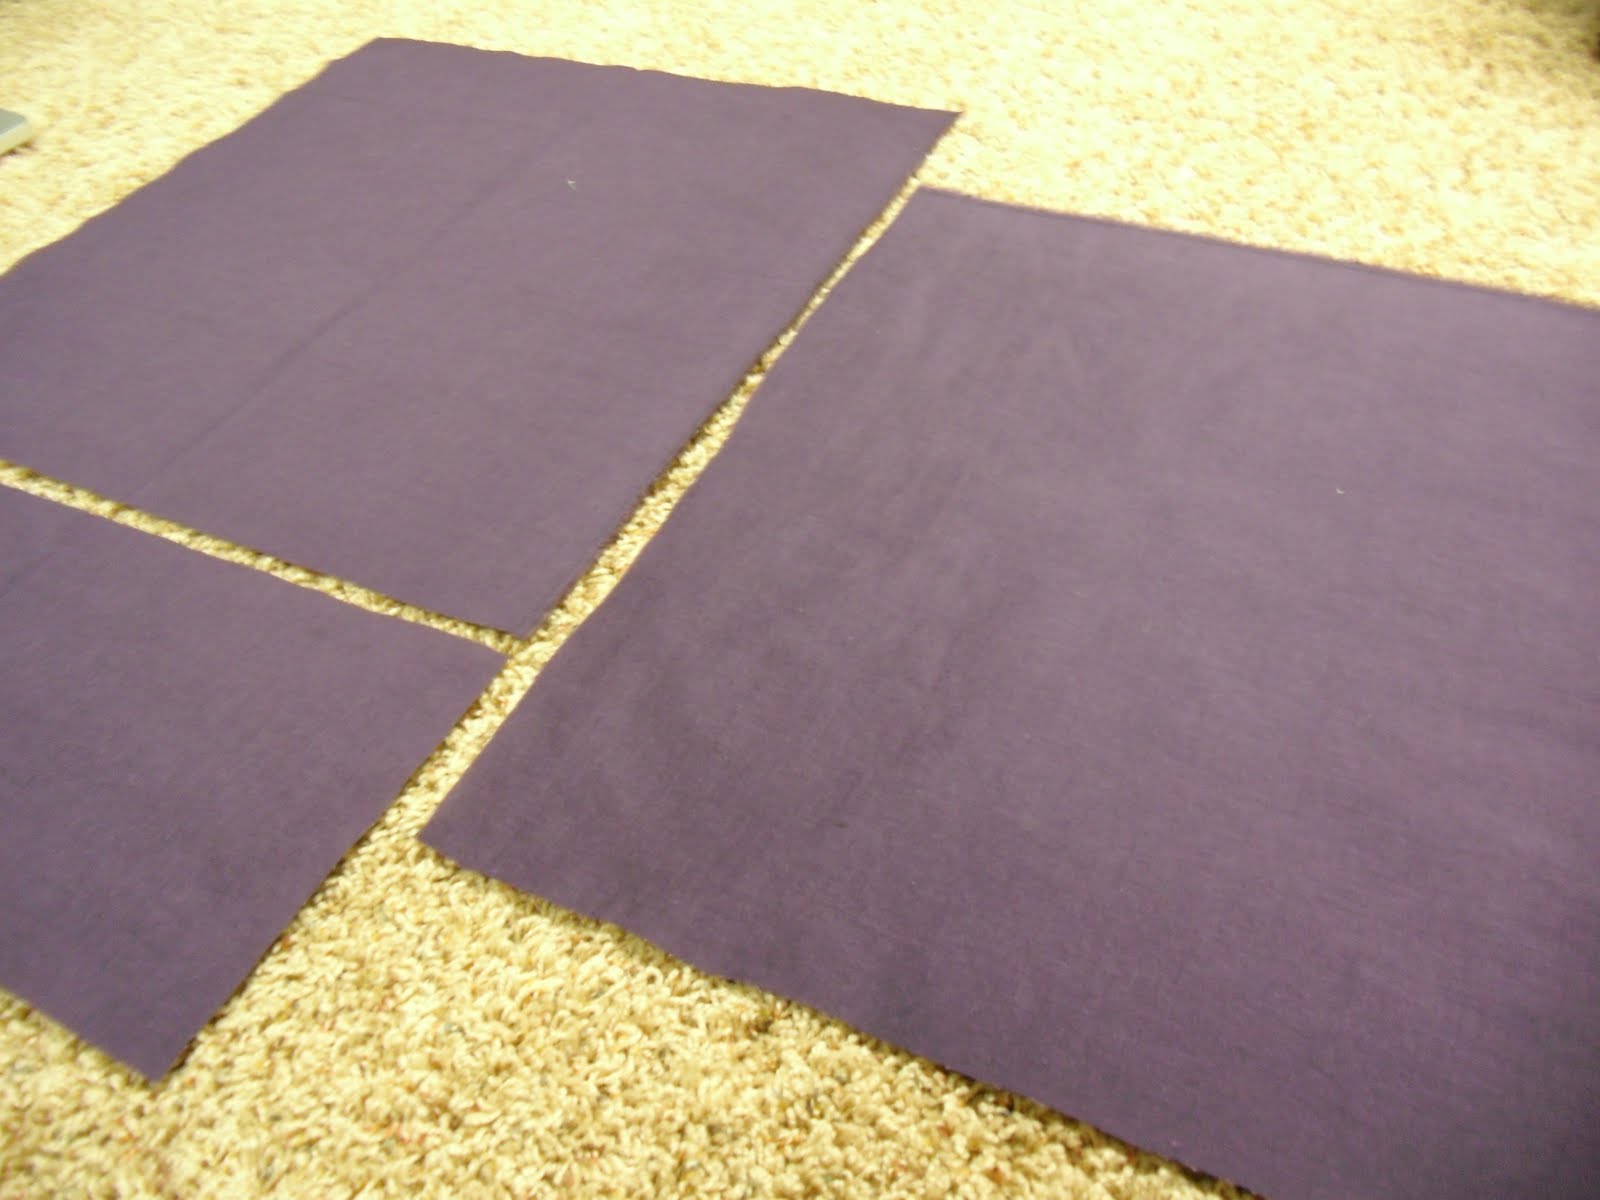
Step 1. Cut a piece of fabric the same size of your pillow
Step 2. Cut another piece of fabric the same width, but 8 inches longer. This works with any size pillow. Just add 8 inches!
Step 3. Cut of 1/3 of the longer piece.


Step 4. Fold and iron a 1/4" down on the smaller piece on the side where the long piece was cut.
Step 5. Fold again, this time an 1 and 1/2".
Step 6. Do this same thing on the larger piece on the side where the long piece was cut.
Step 7. Pin down and sew.

This is what it'll look like!
I made two pillow covers, one that is just plain, but one with ruffles!!!
I learned to make ruffles about a month ago and I was excited to have another excuse to use them.
To make ruffles you cut pieces of fabric longer than you want them. I make them about one and a half times longer than I want them to end up. Then you sew down the middle on the longest stitch. Next, you pull one thread and ruffle the strip.

This is what you end up with.
(If you want to know how to make ruffles and my directions need a litte supplementation this is a great tutorial. While you are there look around. It is one of my favorite blogs.)
Pin the ruffles down and sew along the same line from the ruffling. Then you've got the front of a ruffle pillow!

Back to the pillow.
Step 8. Lay down the piece of fabric the same size of your pillow right side up. Pin the short piece down right side down.

Step 9. Pin down the larger piece face down.
Step 10. Sew with a 1/2" seam allowance. The tutorial used a 5/8" but I changed it.
Step 11. Reinforce the sides where the overlap is (top and bottom in this picture.)

Step 12. Clip corners.
Step 13. Zig-zag along the edges to prevent fraying.
Step 14. Turn right side out and put in the pillow!!
Here's the finished project!!


Here is a picture with good
coloring and my free chair!
Now it's back to my quilt.
Yours affectionately,
A.H.
I'm so impressed by your ruffles! I think I'm going to have to try that. And the color is beautiful!
ReplyDeleteI love the color combination of the chair and pillow! And, of course, the overall industriousness of the enterprise. You are so accomplished!
ReplyDeleteAmy...I'm so glad you just called me accomplished. Do you think Miss Elizabeth Bennet would agree or just scoff at the notion?
ReplyDelete