Showing posts with label Crafting/Sewing. Show all posts

Wednesday, October 5, 2011

T-Shirts Galore!

For Christmas last year I embellished a couple t-shirts for my sister, Spaulding.  I made her another one this fall, so I thought I'd share them here!


SAVE THE TAPIRS!!! Just for the record tapirs are an endangered animal that lives in Costa Rica.  The shirt is more of an inside joke than a statement.  I have one of these also.  After I explained it to a stranger on the street one day, he asked me if I was from Costa Rica.  Smile!!

(P.S. Click here to see a tapir.  They are so funny looking!)


She really does.


Semi-formal Attire.


I also made her a shirt like my MN bag, but her's is an outline of Alaska with a heart over the bible camp where she has spent her last two summers working on staff.


I'll leave you with that crafty goodness for today.  Look for more t-shirts coming up.  (I've got some great ideas...now I just need the time to put them into action!)


Yours affectionately,
A.H.

Friday, September 16, 2011

Eyeliner and Drink Umbrellas Are the New Art Supplies

In August, my sister, Spaulding gave each one of the siblings a small canvas.  She asked us to paint it or create a collage on it.  G painted a zombie farm on his.  It is quite the work of art.  

I wanted to do something a little more me so...I used this tutorial to create a collage a background of book pages.  I wanted to paint some lettering on, but the normal pencil transferring wouldn't work.  After some deliberation...I decided to try something else.  


First, I printed the text and placed it on the canvas where I wanted it to be.


Then, I flipped the paper over and filled in the words in with cheap black eyeliner.  
I think this pencil cost me $.99 at Wal-Mart.


I flipped it over and rubbed over the words to transfer the eyeliner...normally this would work with pencil, but because the Modge-Podge on the canvas was so smooth the pencil wouldn't stick.  


The transfer isn't perfect, but it is enough to fill in the letters.  
Because the letters were so thin and scripty, I used a toothpick...ok...I used a drink umbrella because I don't have any toothpicks, but it is basically the same thing.


This is the final product!
I know its no zombie farm, but I think Spaulding will like it.

Yours affectionately,
A.H. 

Wednesday, June 15, 2011

Domestic Goodness

I was talking with a friend today and she told me I am very domestic.  It made me feel so good!  She told me this because I was telling her about my project today.  A little purse/bag that I'm going to use at one of my best friend's wedding.  I used this tutorial.  Here is the finished product.


So excited for the wedding!

Yours affectionately,
A.H.

Monday, May 9, 2011

So Much Sewing!!!

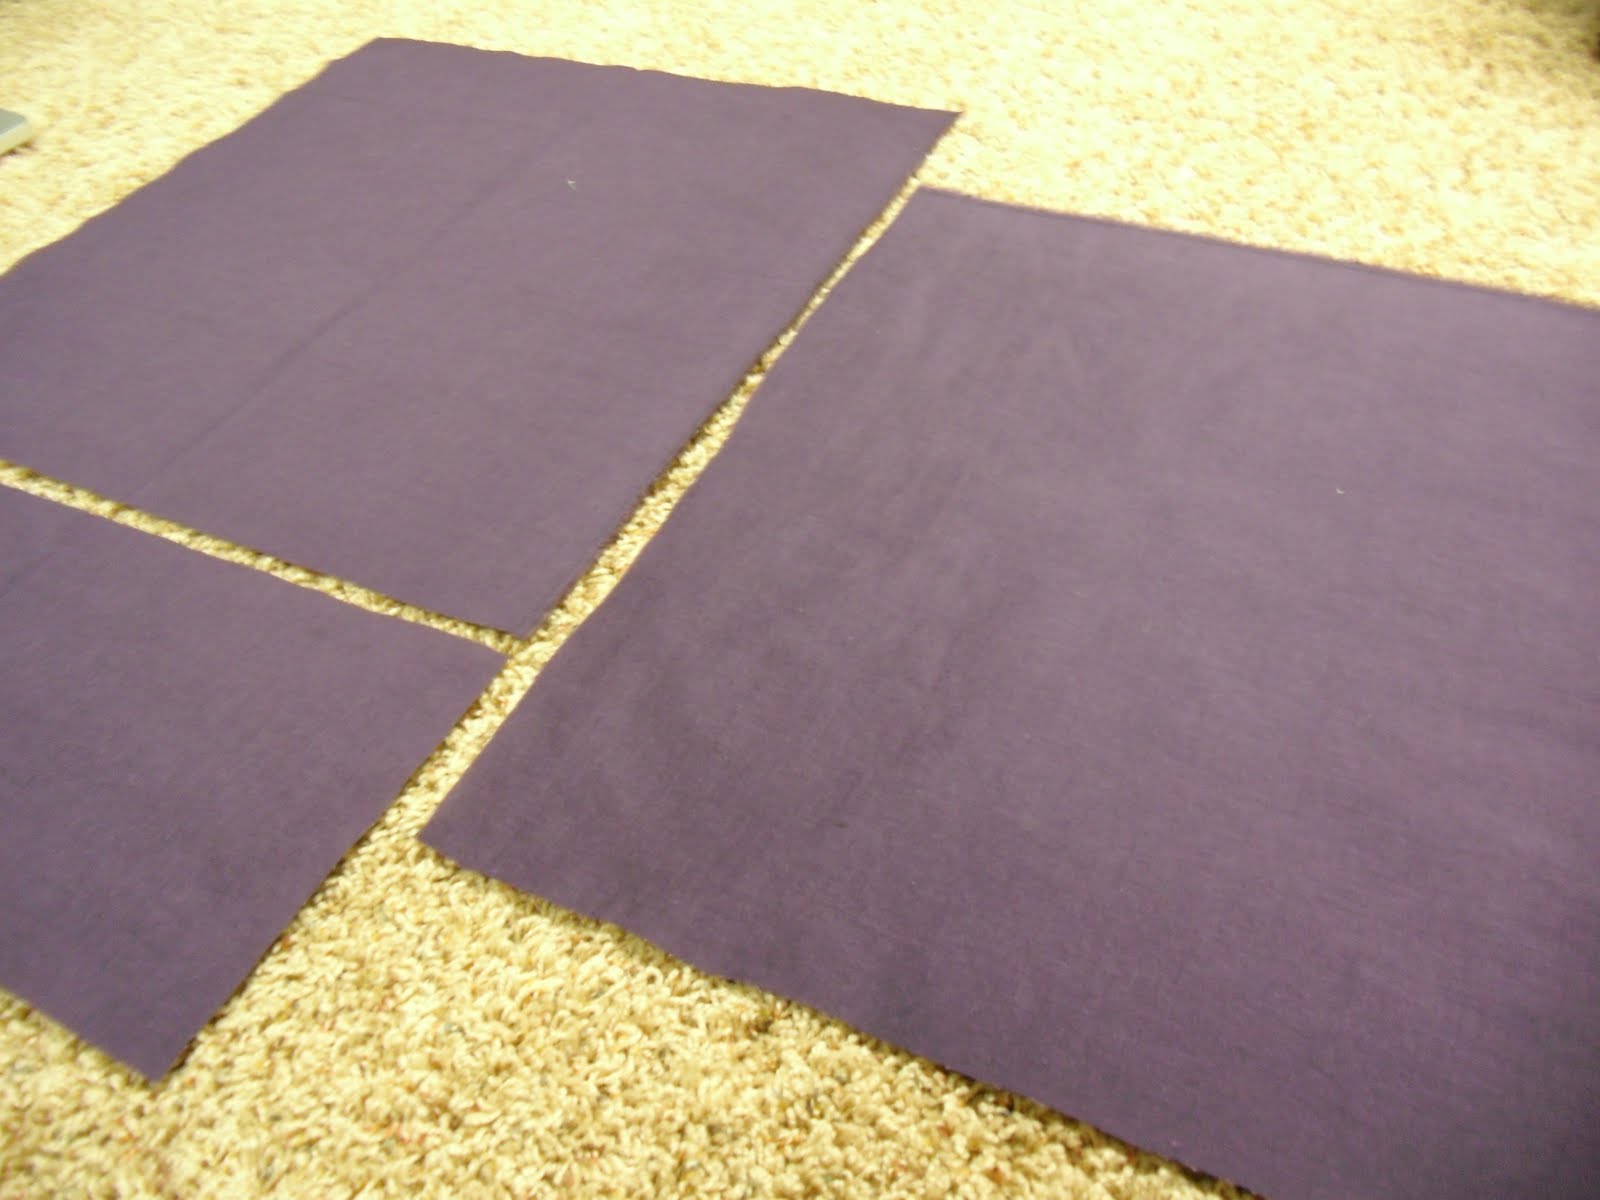
Sewing time!!!  I had lots of free time last week/weekend so I worked on my quilt and finished sewing the first step.  The pieces are now laid out on my bedroom floor and kind of in the way, but I'm really excited!

Also, last week was the last week of the semester and I scouted Craigslist.  A friend went with me and we picked up a chair.  The chair needed some thing extra so I went to the local Goodwill and picked up some pillows.  (It was 50% off Storewide...Yeah...I went in for pillows - $3.00...ended up with a couple shirts, a purse, and a pair of shoes.  It was a good deal.)


The pillows looked like this...they needed a change.


First thing...the ruffle needed to go.


I found a great tutorial for a pillow cover without a zipper.  If you want to take a look its here.


(Sorry the pictures are so badly colored.  I need a better camera/better light.)

Step 1. Cut a piece of fabric the same size of your pillow

Step 2. Cut another piece of fabric the same width, but 8 inches longer.  This works with any size pillow.  Just add 8 inches!

Step 3. Cut of 1/3 of the longer piece.


Step 4. Fold and iron a 1/4" down on the smaller piece on the side where the long piece was cut.

Step 5. Fold again, this time an 1 and 1/2".

Step 6. Do this same thing on the larger piece on the side where the long piece was cut.

Step 7. Pin down and sew.


This is what it'll look like!

I made two pillow covers, one that is just plain, but one with ruffles!!!

I learned to make ruffles about a month ago and I was excited to have another excuse to use them.

To make ruffles you cut pieces of fabric longer than you want them.  I make them about one and a half times longer than I want them to end up.  Then you sew down the middle on the longest stitch.  Next, you pull one thread and ruffle the strip.


This is what you end up with.

(If you want to know how to make ruffles and my directions need a litte supplementation this is a great tutorial.  While you are there look around.  It is one of my favorite blogs.)

Pin the ruffles down and sew along the same line from the ruffling.  Then you've got the front of a ruffle pillow!


Back to the pillow.

Step 8. Lay down the piece of fabric the same size of your pillow right side up.  Pin the short piece down right side down.


Step 9. Pin down the larger piece face down.

Step 10. Sew with a 1/2" seam allowance.  The tutorial used a 5/8" but I changed it.

Step 11.  Reinforce the sides where the overlap is (top and bottom in this picture.)


Step 12. Clip corners.


Step 13. Zig-zag along the edges to prevent fraying.


Step 14. Turn right side out and put in the pillow!!


Here's the finished project!!


     Here is a picture with good
     coloring and my free chair!

     Now it's back to my quilt.

     Yours affectionately,
     A.H.

Sunday, March 6, 2011

Home Is Where the Heart Is

For Christmas I embellished three different shirts for my sister.  One of the shirts was a map of Alaska with a heart over the camp where she spent last summer.

As soon as I finished I knew I wanted
one for me.  I started out with this.

And ended up with this.  I used a shirt I knew I wouldn't miss if I messed up the map.  Unfortunately, adding to the front of a shirt doesn't change how it fits.  Crazy, I know!!  So I bought a canvas bag, which was on sale for $1.32.  I so enjoy a good deal!! 
I ended up with this!!


Here is the tutorial I used.  Jones Design Company is a great blog, take a look around while you are there.

Yours affectionately,
A.H.

Saturday, January 29, 2011

Creative Cold

So, I'm feeling a bit under the weather today and I'm used my cold as an excuse to not do anything.  It really is a good excuse...my head is a little fuzzy from the cold medicines.  I started the day off by sleeping in and then proceeded to watch more episodes of Friends than I care to admit.  Then I decided to look over some blogs for new crafting projects and I found so many!!!  As I craft, I'll post pictures, but here is what I did today.


- I made an excellent calzone with Mama Teri pizza dough, filled with sausage and pepperoni.  It was very nummy.


- I made some of these boxes.  Which I ended up throwing away, but they made an excellent place to put the scraps from the rest of my crafting.


- Now for some pictures!  Here is my version of this tutorial.


I have no idea what I'll use it for, but I'm sure I can find something to organize.


- This is my favorite craft of the day!


I will definitely be making another one when I get more buttons.  In full disclosure...this is my sister's lovely turquoise purse.  We are currently having a purse exchange.  I'm using, and loving, this purse and she has an antique red leather clutch that my mom game me.

I guess viruses make me crafty!  Tomorrow = homework time.

Yours affectionately,
A.H.

Monday, January 10, 2011

New Project!

I thought the first day of classes this semester would be a great time to start my second quilt!!  So...this is what I did this what I did this evening.


I started sewing three inch squares together!  I finished my first quilt this fall after staring it seven years earlier.  I promised myself this one won't take that long.  I'm so excited!!  

Your's affectionately,
A.H.